Wednesday, November 30, 2011
Deck the Walls...
Twenty-two local artists held a holiday Open House at their studio warehouse in North Vancouver this past weekend, Saturday November 26th. The show offered an opportunity to visit artists in their working environment where they create paintings, mixed media, jewelry, sculpture, and more.
There was live music, cookies, hot spiced apple cider, original art and networking on the menu. Have a look at the video... ~ Sharka
Friday, November 25, 2011
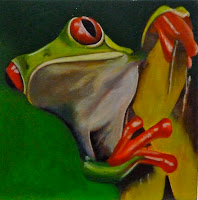
Anonymous Art Show
Last night was the Opening of The Anonymous Art Show. The doors opened at 7:00pm and I was the 25th person waiting in line… This is the third year I’ve participated and by the time I left, one of my paintings had sold, yay!
The show is a group exhibition and a fundraising event that includes paintings by both established and emerging artists. All paintings are 8”x8” on canvas.
The artwork is sold right off the walls - once a painting is sold, the purchaser takes it home with them. Each wall is named after one of Santa’s reindeers and the exhibit runs until Saturday, December 17th.
The paintings are $100 each; 50% goes to the artist and the other 50% to the North Vancouver Arts Council. People do not know who painted each piece as they are only signed on the back. The show allows the community to support local artists and provides you the opportunity to purchase original art work at a great price!
This year, The Anonymous Art Show received over 900 paintings - they have accepted 641 in past years - but because of the number submitted, they allowed room for 732 paintings. I can’t remember how many artists they said participated.
 x
x 
 I think since the opening has happened and one of my paintings is off the wall, I can reveal all three pieces I submitted. If you get a chance and live on the North Shore, go and have a look, it’s truly a wonderful venue!!! ~ Sharka
The show is a group exhibition and a fundraising event that includes paintings by both established and emerging artists. All paintings are 8”x8” on canvas.
The artwork is sold right off the walls - once a painting is sold, the purchaser takes it home with them. Each wall is named after one of Santa’s reindeers and the exhibit runs until Saturday, December 17th.
The paintings are $100 each; 50% goes to the artist and the other 50% to the North Vancouver Arts Council. People do not know who painted each piece as they are only signed on the back. The show allows the community to support local artists and provides you the opportunity to purchase original art work at a great price!
This year, The Anonymous Art Show received over 900 paintings - they have accepted 641 in past years - but because of the number submitted, they allowed room for 732 paintings. I can’t remember how many artists they said participated.
 x
x 

Saturday, November 12, 2011
Recycled Christmas Cards & Gift Tags

Card #1 - used a holly border punch along bottom, then tore along 3 other sides.
Glued to embossed piece of golden cardstock which then was glued to green mat
and all 3 layers glued onto card base.
Card #2 - trimmed father christmas (used card) and glued onto scrap gold
paper (trimmed to size). Using piece of 'scrap' scrapbook paper, glued to red mat and then
attached all to base of card. Added bow for decor.
If you feel like lightening your load of cards, don't send them to the recycling bin right away! There are many ways you can reuse your cards - one is to make easy, beautiful new cards, from pieces of the old ones!

Card #3 - punched circles from a few cards (shimmer/glitter) and created a wreath.
Added a bow and red gems for holly.
Card #4 - glittered ornaments were done using a paper punch. Attached silver twine
and bow. All 4 layers of matting were attached to card base. One of the
white mats was embossed. Added silver Merry Christmas sticker.
You will be able to clear out some clutter, help the environment, and create something new and beautiful - all at the same time! Those who receive your "upcycled" Christmas cards will know that no one else has anything like it!!! :-)
If you’re not crafty and are looking for another option, instead of throwing them away, donate them to a friend, a local school or daycare, or a senior centre. I volunteer my time at a local senior activity centre, and my annual Recycled Christmas Card class (this year on December 5th), is always "sold out"!
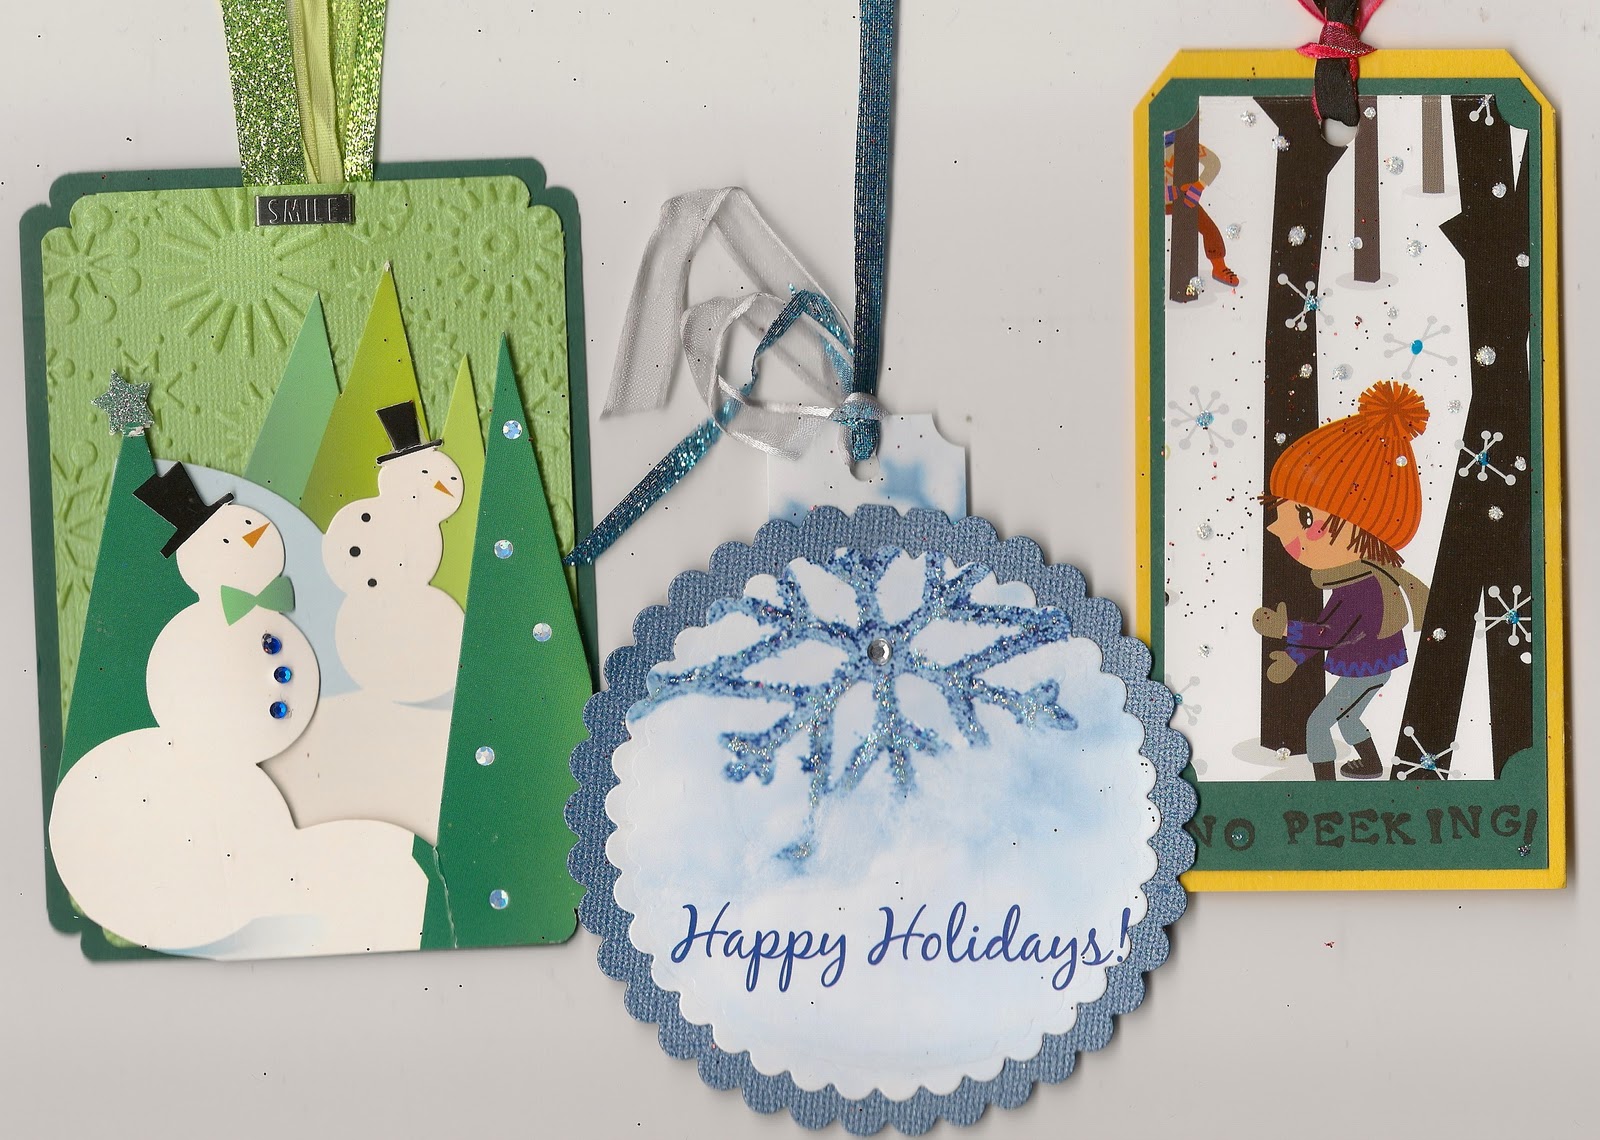
Tag #1 - Snowmen with trees were cut to fit tag; added dimension with pop-ups.
Glued to embossed mat and then all was glued to green tag. Used corner punch on
all 4 corners. RIbbons were attached with a fancy stapler/fastener. Tag #2 - Scallop punched both pattern (from card) and blue bling base. Attached gem to
centre of snowflake and used Stickles to give remainder of snowflake
some shimmer. Punched hole and attached ribbon.
Tag #3 - Trimmed what I wanted from card and matted onto green, then onto golden tag.
Stamped "No Peeking!" and used Stickles to give falling snow and flakes some shimmer.
Punched hole and attached ribbon.
Friday, November 4, 2011
Life Drawing

I never thought I would voluntarily join our 'Life Drawing' sessions... well I have and I am now in my third month and pretty happy with the results from this week's session. They are held once a week, on a Tuesday for 3 hours and when I'm done, I am drained and exhausted. You would have thought I had run 5 miles or something!
With drawing there are different tools to try and many kinds of paper. I have tried basic white sketching paper and newsprint, and I noticed that most of the people were using a tannish coloured paper known as Kraft. Kraft is what I'm liking most so I'm sticking with it. For the drawing tools I have now tried pencils in many different grades, graphite sticks and conte in black, white and sepia.


All I can say is I'm going to hang in with the 'Life Drawing' for awhile, and if nothing else it will give me practice, make my sketching/drawing for my paintings a bit easier, and get the right side of my brain working. It's also a fun evening out! ~ Sharka
Subscribe to:
Posts (Atom)